E0022 | Making Herbal Salves

Podcast: Play in new window | Download
Subscribe: iTunes | Android | RSS

How to Make a Salve
Thanks for joining me today! We have a cool topic to cover this time, something that got a bit of interest on social media and lots of questions. And to be honest this is a fantastic time of the year to be getting ready for cuts and scrapes, bug bites and all sorts of minor injuries as well as sore muscles. Today we’re talking about how to make a salve. I want to teach you how to make a couple salves, one for general first aid type uses, cuts, scrapes, bug bites, that sort of thing, and another that’s more of a muscle rub for sore and achy muscles.
News
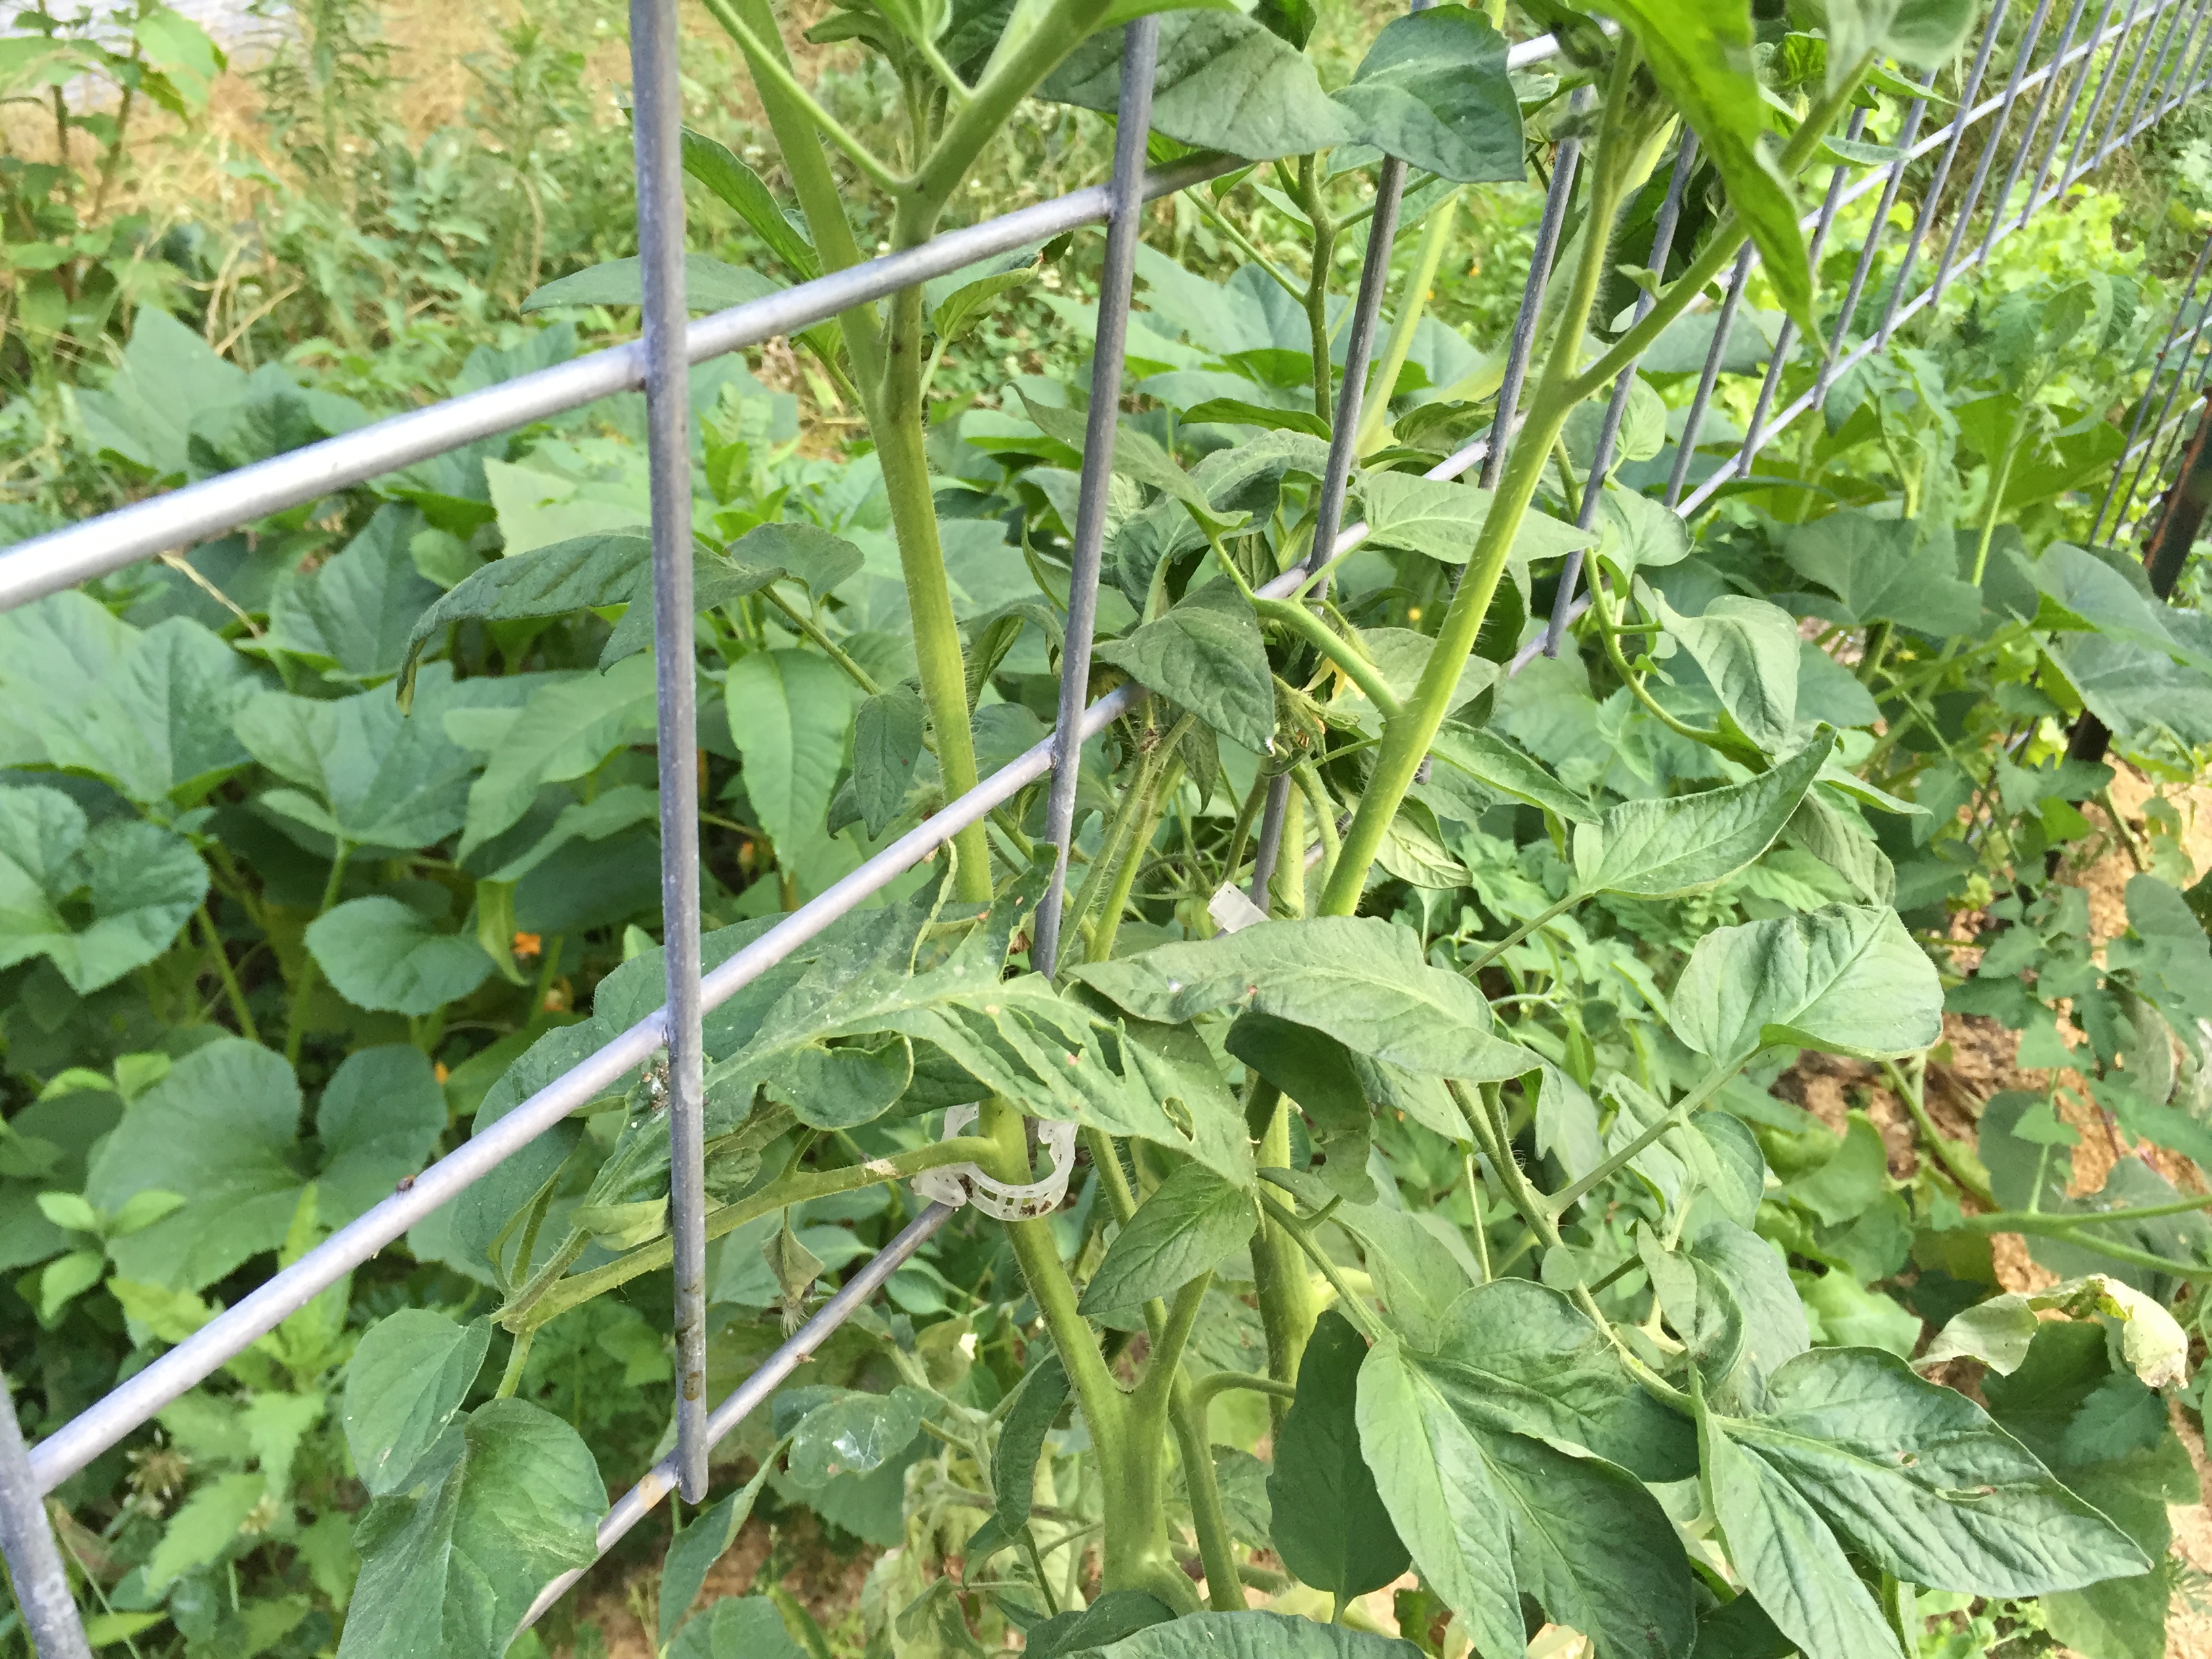
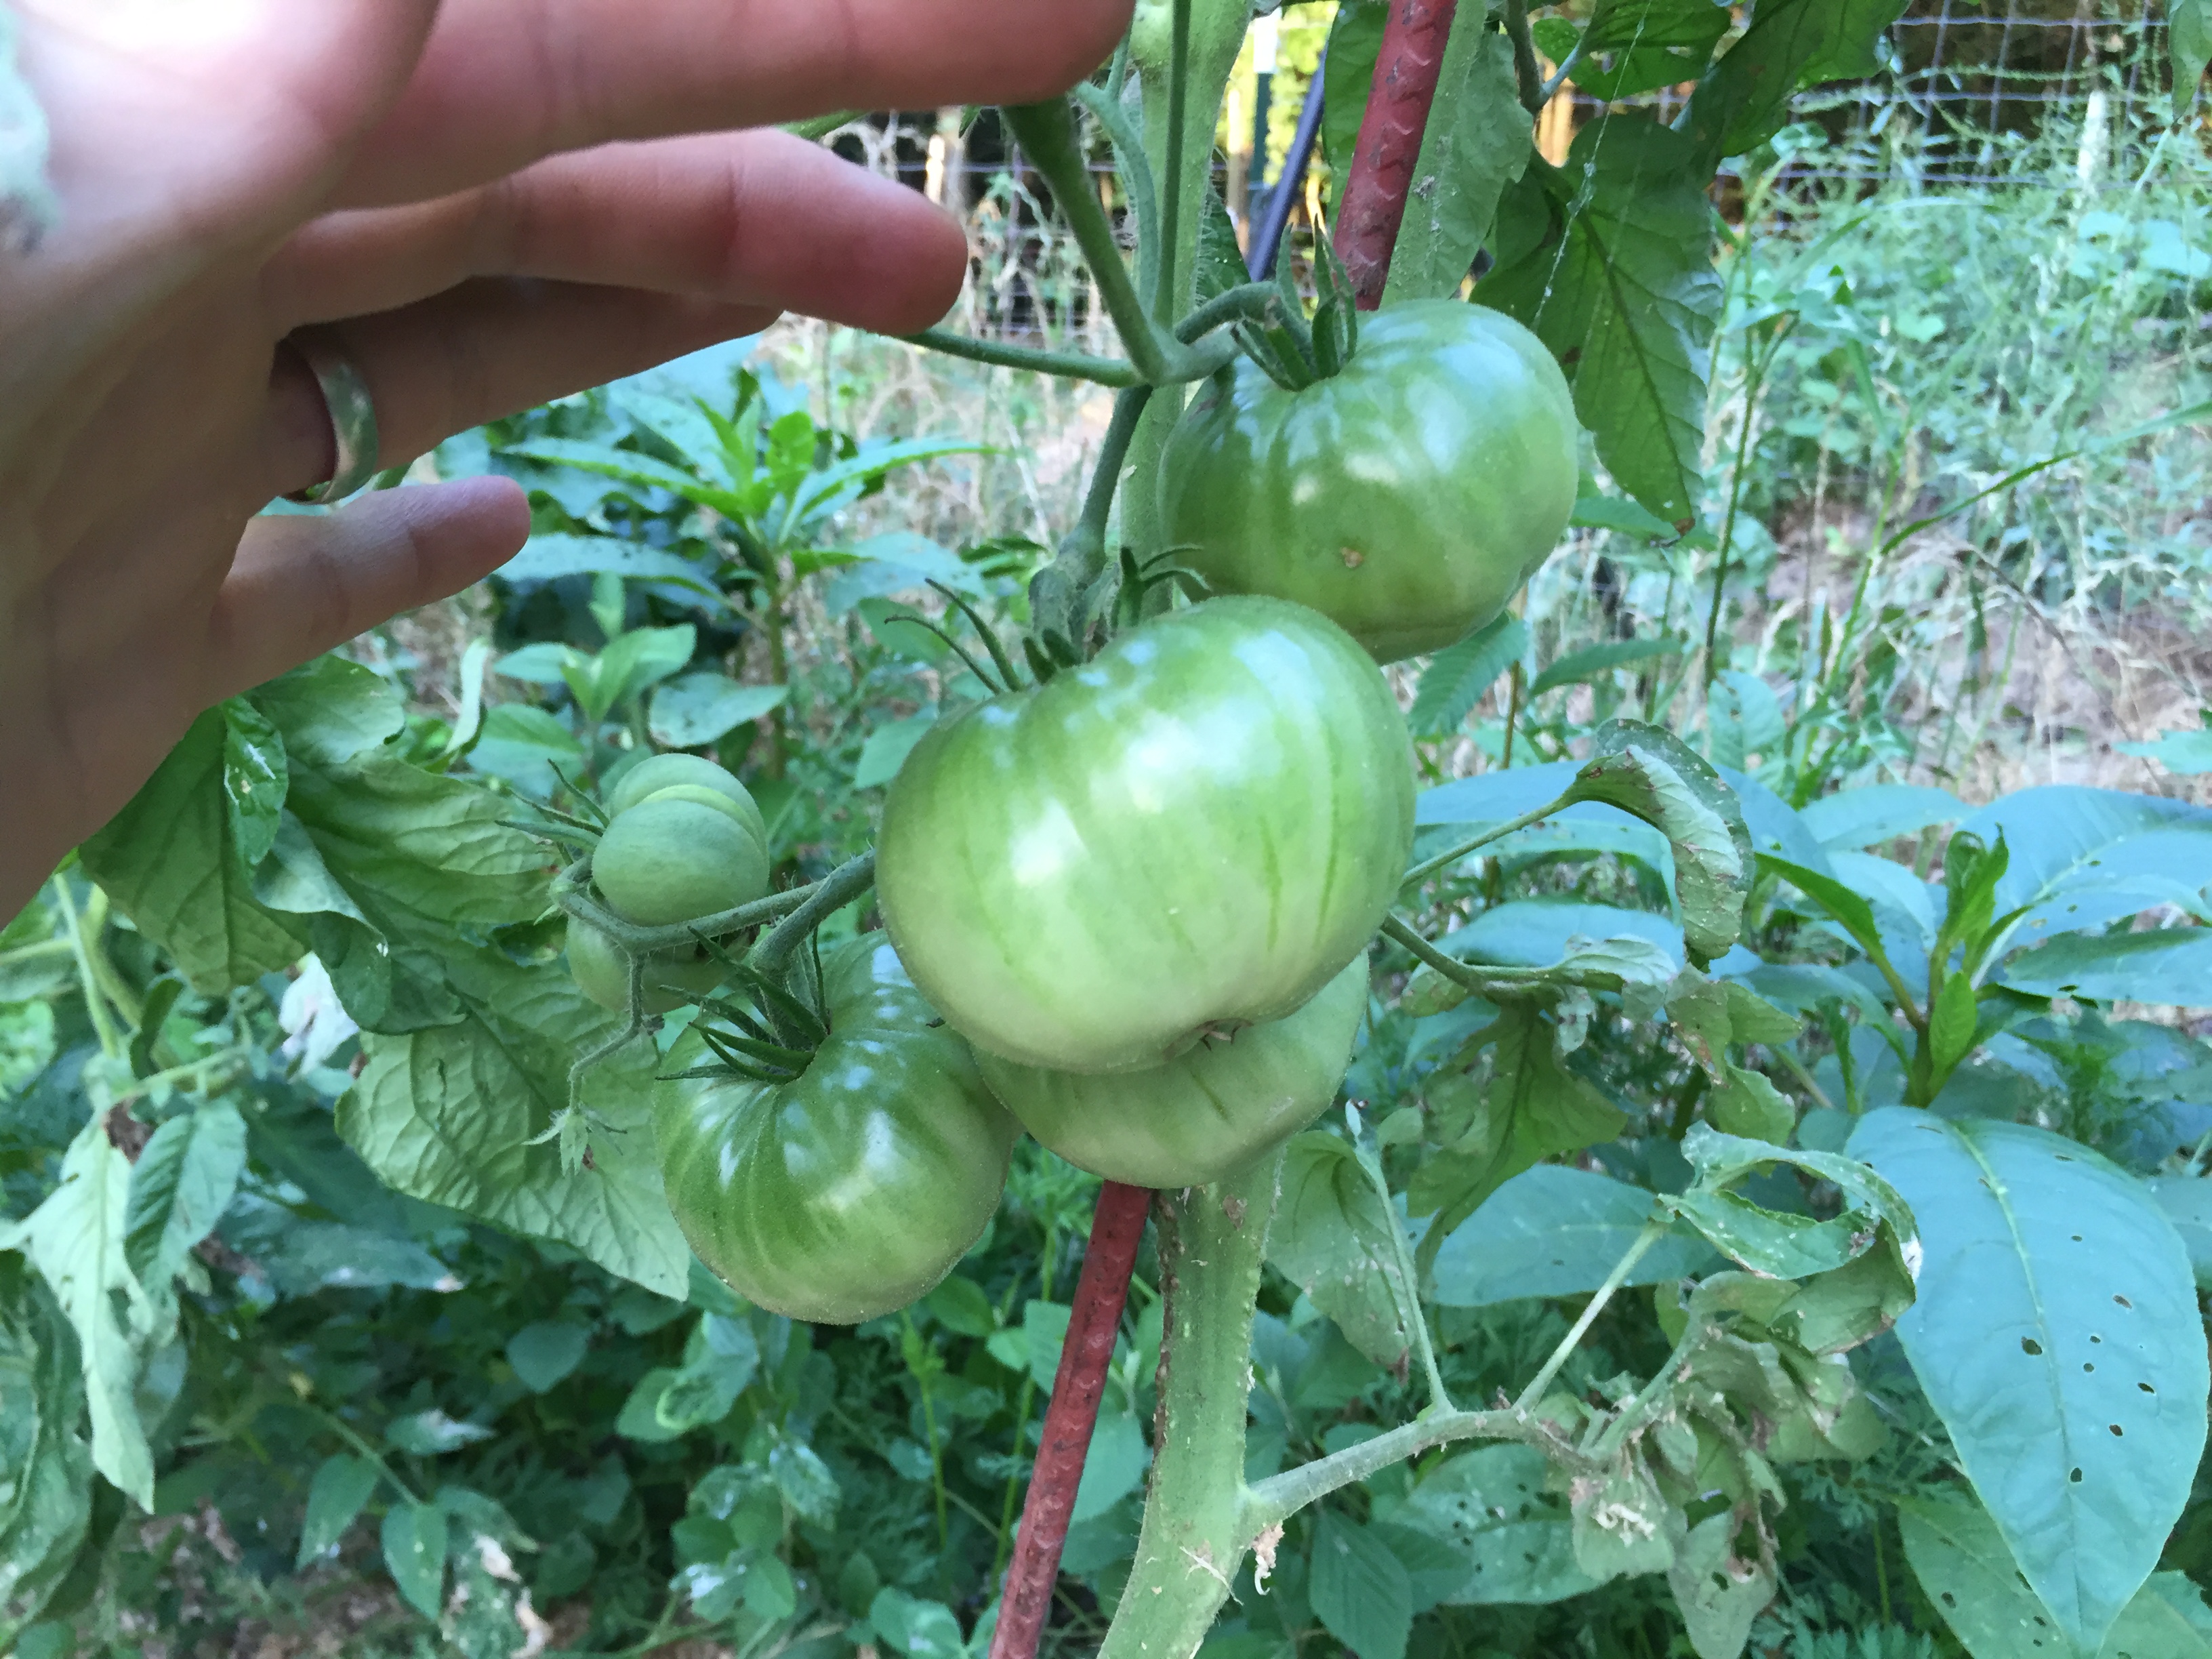
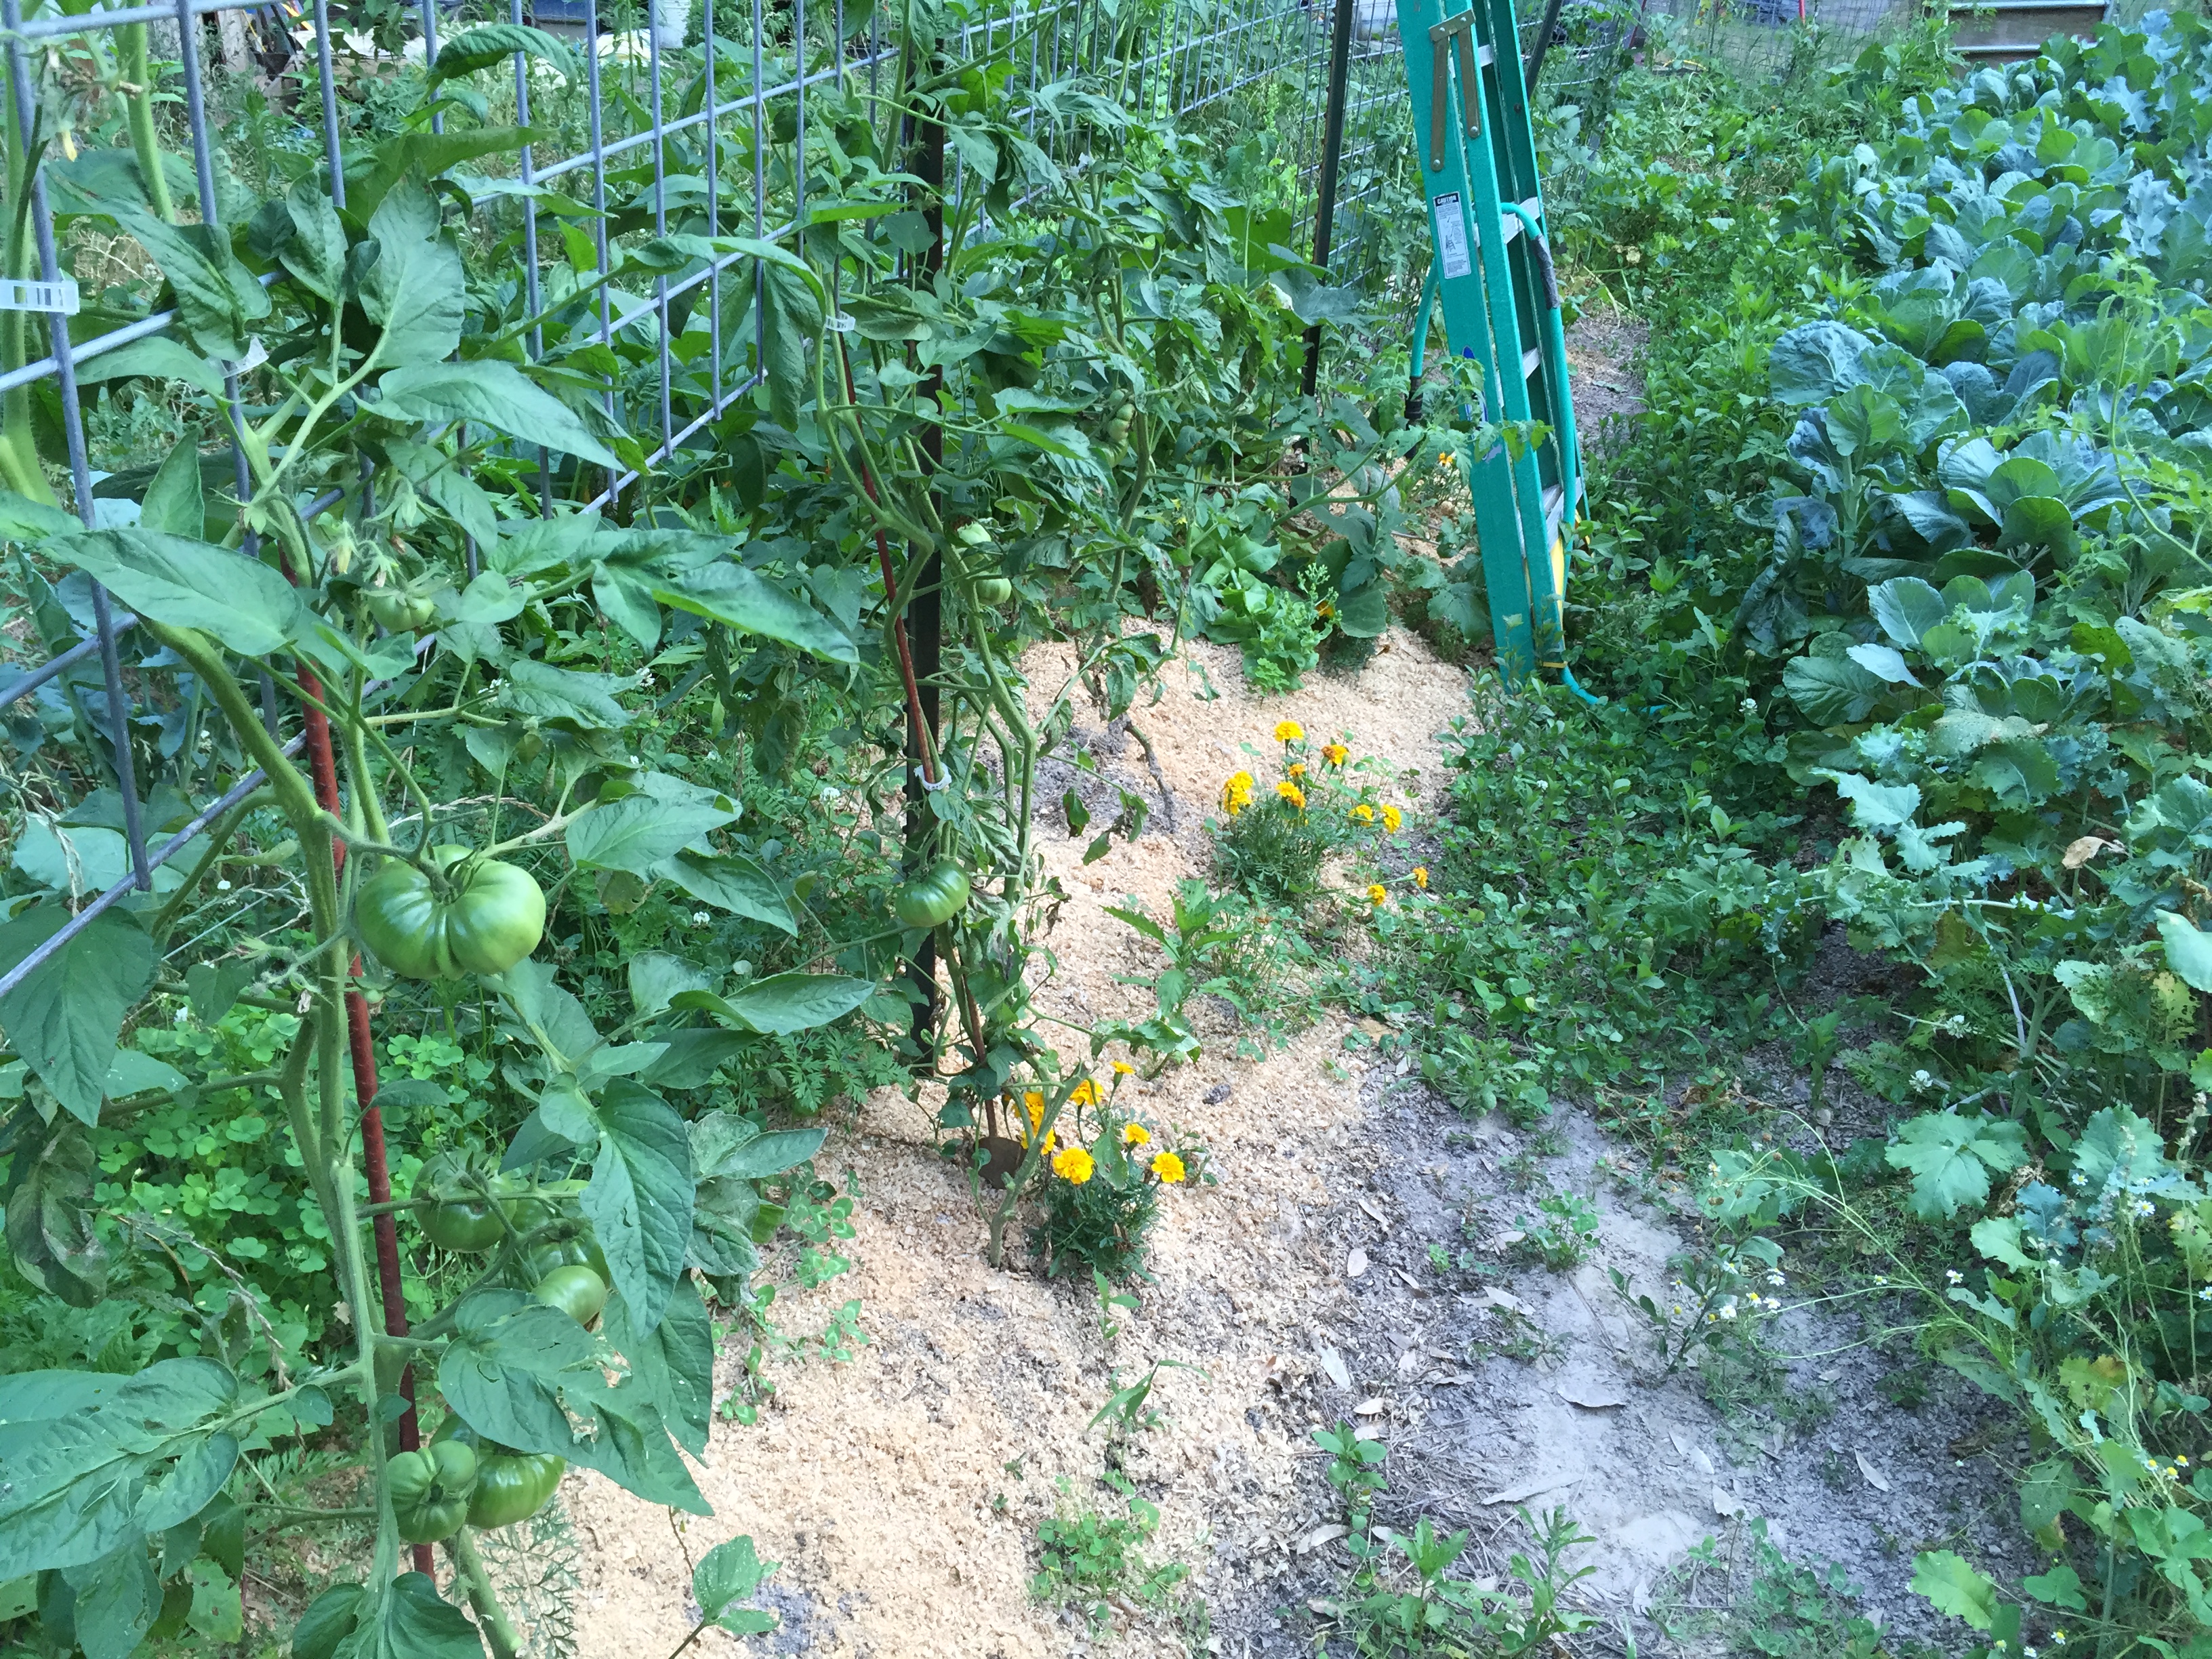
The garden is doing well! I’m of course neglecting it as always. I never seem to have the time to do everything I need to do. But the tomatoes are going like crazy! I actually have pictures of how I manage my tomatoes with the utility panels and the clips I use when they are a little too brittle for weaving. But if you’re interested in that, you should check out the blog post for those pictures.
The duck in the chicken barn hatched a duckling! Sadly it seems like only one of them hatched, she seems to still want to sit on the nest but it’s been a couple days so it’ll probably only be the one duckling. But of course I have another duck setting (presumably) on eggs, so hopefully we’ll get more hatched in a month. I think I also discovered why we saw a drop in egg production, the light timer got unplugged somehow. So hopefully the chickens will pick back up to their post-fermented feed laying rate, cause I really want those eggs! The boys eat a bunch of eggs every morning and I don’t want to buy eggs if I’m feeding chickens.
And I want to brag on my amazing wife, she cut out sugar, grains, alcohol, dairy and caffeine for 10 days! She’s been working out, getting fit, getting a tan, and I’m super impressed she had the willpower and determination to stick with it and cut all those things out cold turkey all at the same time. And lemme tell ya, she’s looking good! I don’t think I’d have the willpower to do what she did, and yaknow, I shouldn’t be surprised, she’s probably the most determined and stubborn person I’ve ever met. If she gets it in her mind that she’s going to do something, by golly she’s got the mental stick-with-itness to see it through to the end. So anyways, I wanted to brag on her to everyone and hopefully I won’t get in trouble for saying it on the blog. I bet it would make her feel pretty great if some of you guys tagged her on facebook and said something nice.
In other news, it looks like there is a bunch of interest in me doing a video on cell grazing, setting up a plan for your grazing and teaching you guys how to rotationally graze with portable electric fence. Add to that the fact that making a knife in the heat of summer is probably not the best timing. So we might have the knife making class ready before deer season, maybe later in the fall when the weather cools off a bit. I mean to be honest, knife making is a perfect project for the winter when it’s cold out, because nobody wants to stand at a forge in triple digit heat anyways right? It’ll go perfect to film and produce the rotational grazing video because I’m going to be doing it anyways in the next few weeks to a month.
Plant of the Week
Japanese or Korean Chestnut which is Castanea crenata. I learned about this one recently from a friend who I’ve never met (Elizabeth Davis), but we’re plant geeks on the same path, working towards the same kinds of goals so it’s kind of cool to be trading plants with each other that are helping us both reach our goals. So she’s sending me several of these trees that are supposed to start producing in 3-4 years and producing well in 6. They make nuts from 1 to 2 inches in diameter!
It’s hardy from zones 4 to 8 and like well drained soil. So plant on mounds if you have heavy soil, and plant wherever you have decent drainage if you have sandy soils like me! But I’ll be planting these on my swale mounds to make for easy harvest. I want those nuts to all fall down into a ditch or the downhill edge of my berm which will make picking them up so much easier.
So needless to say I’m looking forward to getting these awesome trees in the ground and producing as soon as possible!
Propagation
By Seed, If possible, take the newly ripened seed and directly sow where you want your trees to grow. They have a short timeframe of viability if stored.
You need to protect the seed from rodents if planting in a bed to grow for a year as a seedling. So if you’re planting in a seedling bed, put down hardware cloth underneath, make sure you have a deep bed so the roots don’t get tangled up too bad.
If you want to hold the seed over for the winter, you can keep the seed cold and moist in your fridge as close to freezing as possible. You can keep it in a bag of moist potting soil with a frozen bottle of water inside a little cooler and just replace the bottle with a freshly frozen bottle when it thaws. If you do it this way it’ll be as close to freezing as possible and help prevent mold issues as well as adding thermal mass which will help them from freezing. If they start germinating, get them into some pots or dig some holes and get them planted outdoors asap.
Interesting Things
Did you know that it’s actually pretty easy to confuse thirst with hunger? According to the research I’ve done, and from personal experience testing this out I think it’s for real. So I’ll tell you what I learned and you take it with a grain of salt and decide for yourself if you want to believe me.
By the time you feel like you’re thirsty, you’re probably already dehydrated. Think about the early symptoms of dehydration like dry eyes, your mouth feeling dry or sticky, headache and fatigue. For me, if I’m feeling a little bit run down or sleepy, it’s either low blood sugar or mild dehydration. I try to drink water regularly throughout the day no matter if I feel thirsty or not.
If you want to do a little trial yourself to see if it works for you like it does for me, the next time you are feeling a little hungry, drink a pint of water and wait 15 minutes. If your stomach is grumbly still and you still feel hungry, then you’re probably actually hungry. It’s interesting being able to teach myself what hunger actually feels like and to contrast that against what thirst feels like.
For those of you who are trying to cut calories, or get in better shape, this might be a really good thing to try out, not only will staying hydrated help you be healthier, but you just might find out that you were eating a lot of calories for no other reason than that you were simply thirsty.
Making a Salve
First of let me make sure I’ve stated that this is completely for educational purposes only. This information has not been evaluated by the Food and Drug Administration. This information is not intended to diagnose, treat, cure, or prevent any disease. Some of the essential oils and herbs can have contradictions with prescription “drugs” (not medicines), so if you’re on prescription drugs, you should check with your doctor before using them in case they might interact negatively.
I’ll be telling you what I do and it’s just my opinion, but despite my disclaimer, this is what people have been using for DIY medicine for generations and I say that if it’s been working for generations of humans, well I personally don’t need some governmental agency to tell me if it works or is good for me. I make up my own mind! So let’s talk about the method of making a salve and then talk about some commonly used ingredients before we get into a couple recipes.
The Basic Method
You take a base ingredient of an oil, either animal fat, or vegetable oil of some kind, you mix that with an herbal preparation, and normally some kind of wax to firm the salve to make it easier to use. You can go with a cold method of herbal extraction that preserves more qualities of the herbs, or heat the oil and herbs together for a certain amount of time to extract all the herbal goodness. Using a heat method is quick and easy and honestly that’s normally the best way to make your salve and that’s the method we’re going to use in the example today.
Commonly Used Ingredients
Base Ingredients
Vegetable oils or animal fats like:
Coconut Oil
Olive Oil
Rendered Lard
Beeswax – Thickener and helps to solidify your salve
Herbs
Arnica Flowers: Bruises, strains, sprains, and muscle pain. Use right before and after strenuous exertion or immediately after an injury to prevent, relieve, and reduce swelling, bruises and pain. Some people don’t think it works, it totally does in my experience and we have arnica salve on hand every day of every year.
Calendula: Gentle healing plant with all-around healing properties useful for a plethora of skin irritations and conditions including minor wounds, insect bites, rashes, scrapes, abrasions, cuts, etc…
Cayenne: Warming, good for occasional sore muscles, alleviates occasional pain, and itching.
Chamomile: Great for minor abrasions, cuts, scrapes, and wounds. Often overlooked for it’s healing properties.
Chickweed: Soothing, helps with skin conditions, minor burns, and other skin irritations.
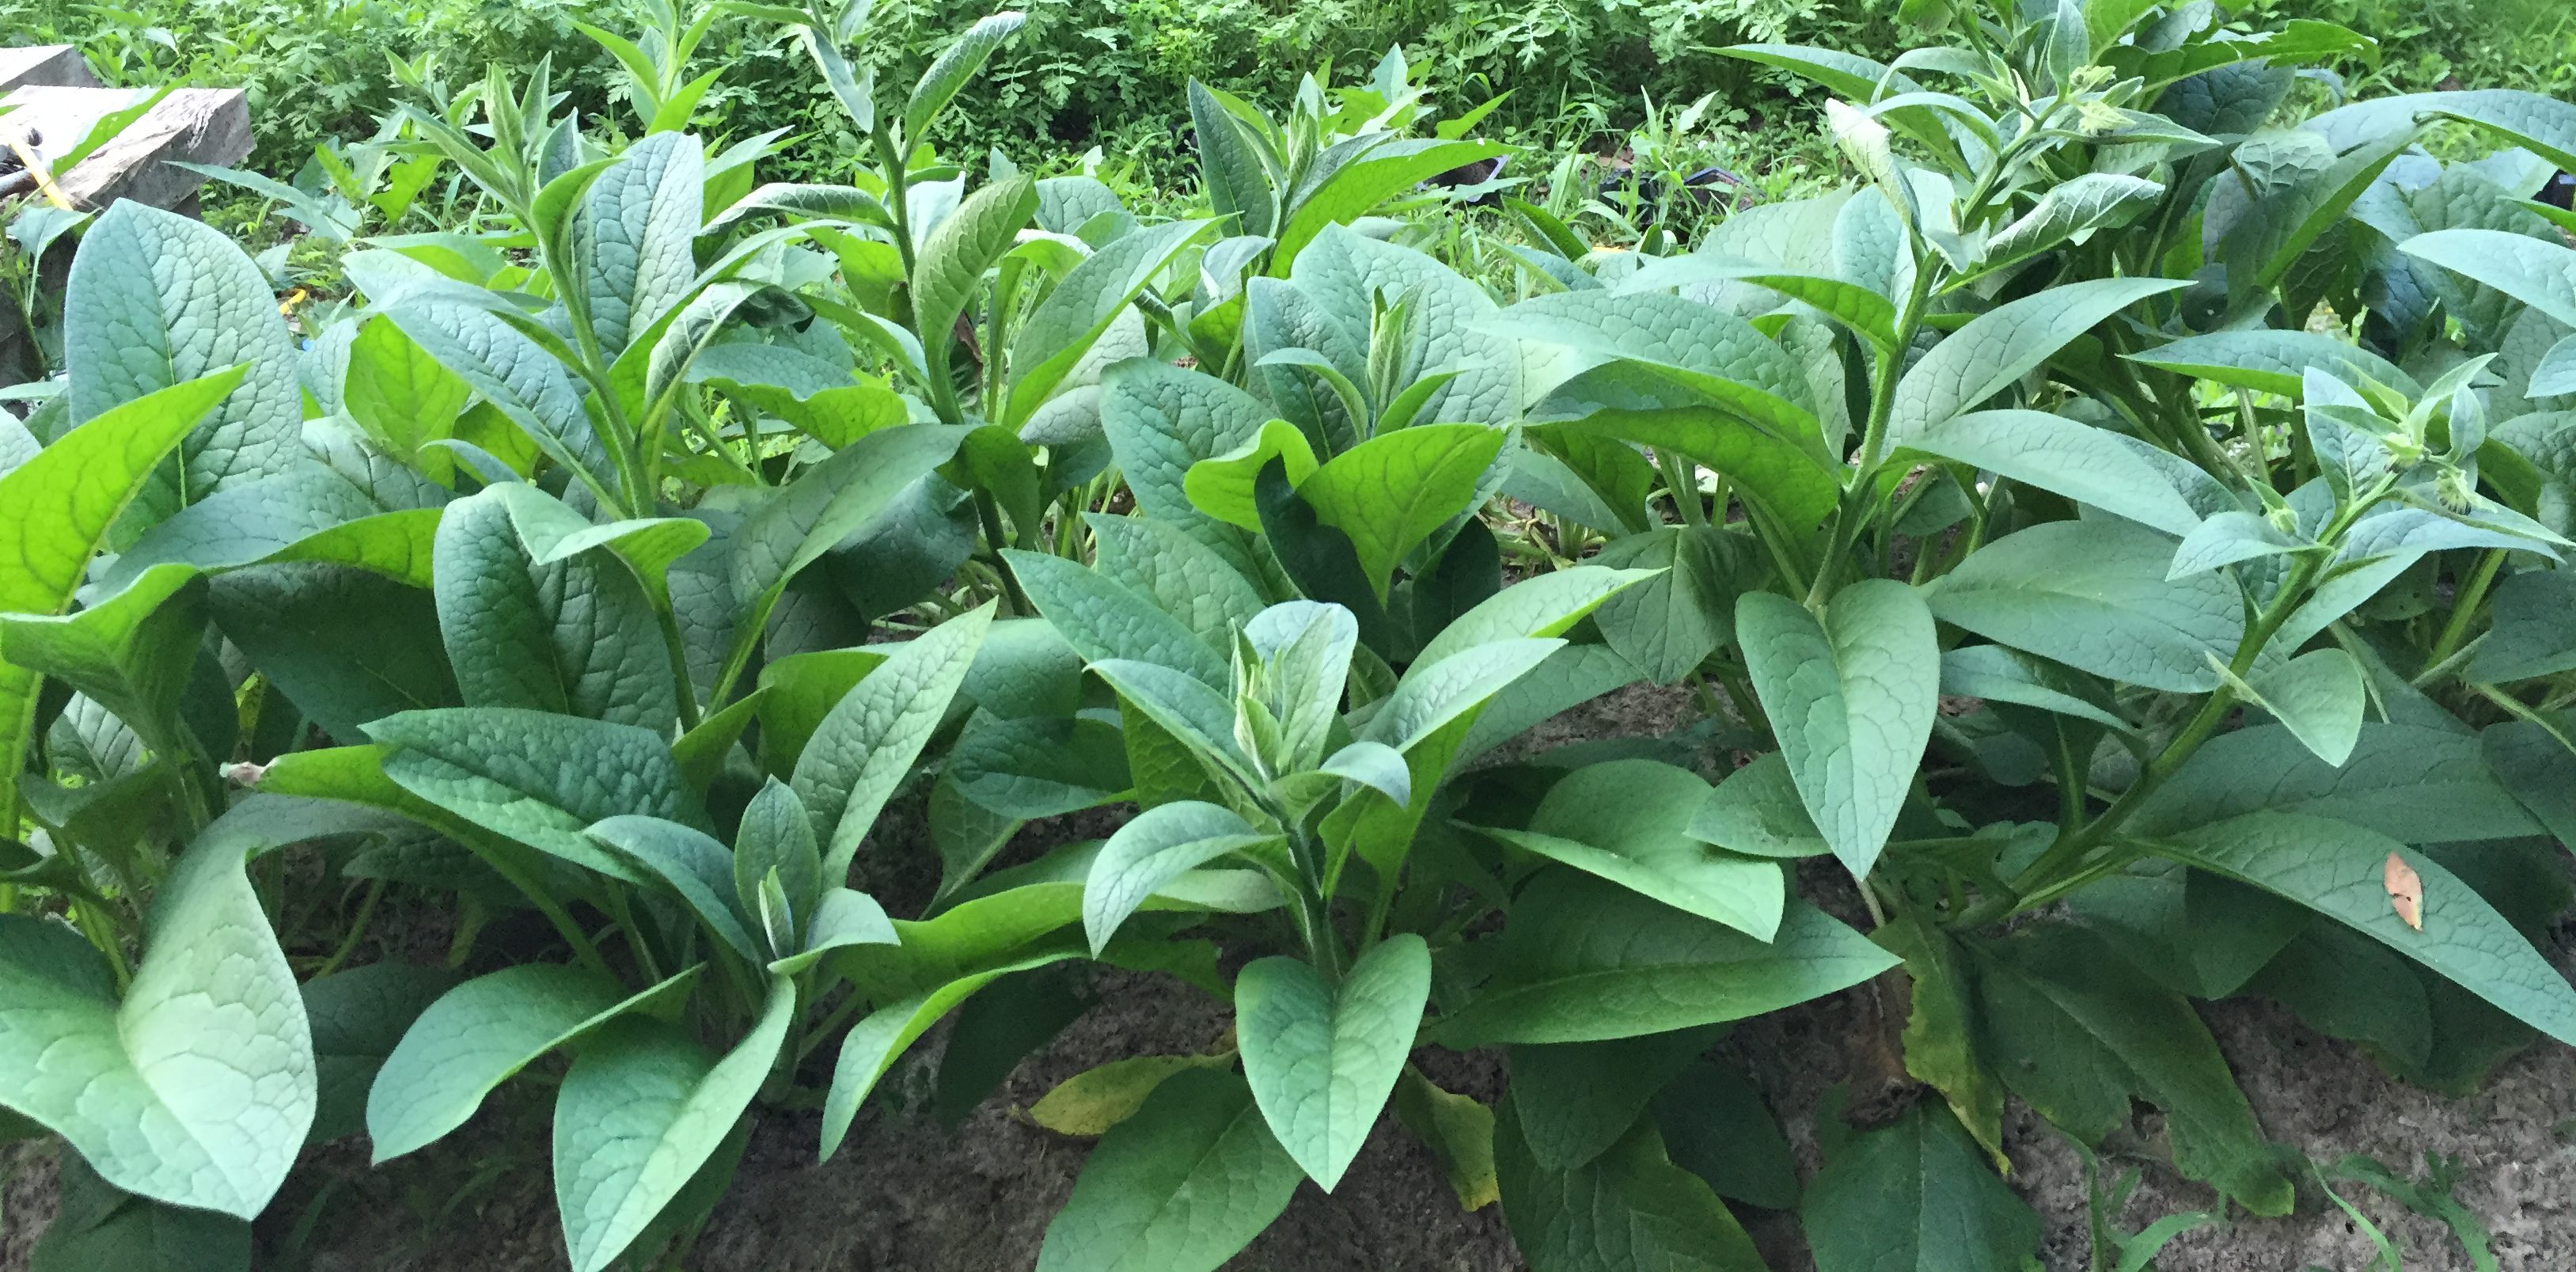
Comfrey: Relieves occasional pain, swelling, supports muscle, cartilage, and bone. Assists with healing a wide variety of conditions.
Echinacea: Beneficial for minor sores, wounds, insect bites, and stings.
Ginger: Warming, use for occasional sore muscles.
Goldenseal: Useful for treating minor wounds and skin conditions. Reported to have antibacterial properties.
Lavender: Soothing, calming, relieves occasional pain, has healing properties beneficial for minor wounds and numerous skin conditions.
Plantain: Relieves and soothes insect bites and stings, poison ivy, itching, minor sores, bruises, blisters, and damaged skin.
Yarrow: Apply to bruises, minor wounds, cuts, scrapes, and areas with swelling and bleeding.
Other Great Ingredients
Essential Oils (powerful medicinals)
Vitamin E oil (preservative and great for skin support)
How to Make a Salve
So let’s get into actually making this ointment. We’re going to make a pint of salve here with this recipe and store it in two half pint jelly jars. You can get these at just about any big box store as mason jelly jars. You can even get plastic lids that are one piece and easier to use for something like this. I like to keep the salve in the fridge so it lasts longer and sometimes it’s nice for it to be kind of cooling when you have a little cut or burn. But before I tell you this recipe please realize like with most recipes, you can substitute ingredients, or leave some of the extra ingredients out of the mix.
So let’s lay out the recipe for a good all purpose Ferguson Family Special Comfrey Salve.
Ingredients for approximately 16 oz salve
1 3/4 C – Coconut Oil or Olive Oil (we prefer coconut oil because it sets real well in the fridge)
3 Tbsp – Beeswax (shredded or pellets. But leave out the wax if storing in the fridge)
1/2 C – Dried Comfrey leaf, root, flowers
1/4 C – Dried Calendula Flowers
1/8 C – Dried Lavender Flowers
1/8 C – Dried Chamomile Flowers
(optional but recommended)
1/2 tsp – Vitamin E oil
20 drops – Tea Tree Essential Oil
20 drops – Lavender Essential Oil
- Fill a couple glass pint jars ⅓ to ½ full of herbs and cover with coconut oil or another oil if you prefer something different. Screw on the lid and place the jar on top of a dish towel in a crock pot. Fill the crock pot with water just below the jar’s lid and turn on “warm” or the lowest setting for two or three days. This will extract the compounds from the herbs that you’ve selected and infuse them into your oils. Make sure you put the jars on the dish towel, it prevents thermal shock to the glass and could keep it from breaking on you.
- Top off the water in your crock pot every day and make sure it never goes dry. Never pour cold water over a hot glass jar, it can shatter or explode and your infusing oils will be wasted. I suggest heating up some water every day to top it off.
- After two or three days, strain the cooked herbs out of the oil while it’s still warm. You can use a piece of cloth, cheesecloth, an old t-shirt, anything like that will work. Just lay the cloth over your pan and pour over it, gather the ends up and squeeze the bundle of oily herbs until you’ve gotten most of the oil out.
- Melt beeswax in a saucepan on low heat and add the herb infused oil. Remove from heat and stir until completely melted. Add vitamin E oil after the mixture cools somewhat.
- After the mixture starts to solidify and you’ve tested to see if it’s the consistency you want, when you’re ready to pour into jars, add the essential oils if you want them. Mix quickly, then immediately add to your jars and screw lids on tight to prevent the volatile essential oils from evaporating.
Tips
- If your salve is too soft, reheat and add a little bit more beeswax. If it’s too hard then just reheat and add more oil.
- Keep out of light and heat. Store someplace cool and dark, preferably a pantry, drawer, or the fridge. If storing in the fridge, go light on or eliminate the beeswax addition.
- Use dry or mostly dry herbs if possible because the more water that is present in the salve, the faster the oils will go rancid, and it’s pretty nasty when it goes rancid. I just feed it to animals when that happens.
We use this type of salve for…
- Bug Bites
- Rashes
- Diaper Rash
- Dry, Chapped Skin
- Cuts & Abrasions
- Burns
I think it’s great, and really handy to have around.
More Recipes
I found a couple other great recipes for you guys, this one is from a well known blog that my wife really likes. I’ve copied her exact recipe and information here for you. It comes recommended from my wife. You can read the full article linked below.
http://www.mommypotamus.com/diy-warming-rub-for-sore-muscles/
INGREDIENTS
- 4 fluid ounces (1/2 cup) melted coconut oil – this will yields about 2 fluid ounces of infused oil
- 4 fluid ounces (1/2 cup) shea butter
- 2 tablespoons grated beeswax, tightly packed
- 2 tablespoons cayenne pepper
- 100 drops peppermint essential oil or eucalyptus globulus – 50 drops of wintergreen essential oil can be used in place of peppermint or eucalyptus, but please read the cautions below before including it
- 40 drops copaiba essential oil
- 40 drops juniper berry essential oil
- *Note About Wintergreen Essential Oil: This oil should be avoided by pregnant and breastfeeding mamas, children, anyone on anticoagulant medication, anyone who has recently undergone surgery or will soon undergo surgery, individuals with hemophilia or other bleeding disorders, and anyone who has a salicylate sensitivity (this often applies to individuals with ADD/ADHD). Individuals with the MTHFR mutation may also have a problem with wintergreen due to it’s high salicylate content. If this applies to you, replace the wintergreen with 50 more drops of peppermint or eucalyptus globulus essential oil.
EQUIPMENT
- double boiler (or a pot that fits inside another pot)
INSTRUCTIONS
- Place coconut oil and cayenne in a double boiler and gently warm the oil. Be careful not to let it get hot because the smell of cayenne will fill the room and make you cough. (Not that I would know that from experience – ahem).
- Once the oil is slightly warm give it a stir and then turn off the stove. Allow it to sit for half an hour and then repeat the process.At this point you can move on to step 3, or you can warm it again and allow to infuse 1-2 more times for a stronger oil. Overall this process should take 1-2 hours, depending on how many times you reheat the oil to intensify the infusion.
- Using a cheesecloth or old t-shirt, strain the mixture mixture over a measuring cup. After straining out the spices, add enough coconut oil so that the final amount is 1/4 cup.
- Melt beeswax and shea butter in a double boiler and add to the coconut oil. Stir in essential oils and allow to cool completely.
- Store in an airtight jar – Amber or cobalt are best but a clear jar is fine if kept out of direct sunlight (which promotes oxidation).
And The Bulk Herb Store is a great website where we order most of our herbs that we don’t grow ourselves. So if you want a good muscle rub salve or massage oil, you can get a kit here, or buy your own ingredients and mix your own. But if you appreciate the convenience, this might be just what the doctor ordered. https://www.bulkherbstore.com/muscle-salve-mix-1-2-lb
Shoshanna’s mix is specially formulated to help penetrate the skin, soothe and heal damaged muscles, and reduce inflammation. You can rub this salve onto sore muscles and joints as often as needed. One bag of salve mix will make approximately 16-24 oz. of salve.
Contains: St. John’s Wort, Arnica Flowers, Lobelia Leaf, Comfrey Leaf, Peppermint Leaf & Cayenne Pepper.
So I hope you’ll try this method for providing your own healing and first aid needs. Like with many of the things I talk about on the show, I think it’s a great idea to build up your library of skills and abilities. It’s great to have the knowledge or the stuff to meet your needs, but knowing how to do it and having done it are two different things. I always learn far more after having done something than when I just read about it. So give it a shot and let me know how it went for you!
One last thing before I go this week. A friend of mine said he’s been trying to figure out how to leave a review of the podcast (which always helps by the way) and he hasn’t been able to figure it out so he suggested I let you guys know how easy it is if you haven’t already figured it out yourself. Here’s a link to a great tutorial on the Apple website if you want to hear it straight from the horse’s mouth. https://support.apple.com/en-us/HT201991
But if you’re on a Mac or PC
- Open iTunes.
- If you’re not signed in, sign in with your apple ID.
- Click iTunes Store.
- Search for Homegrown Liberty then click Ratings and Reviews.
- Under Customer Reviews, click Write a Review.
- Enter a title, select a star rating, write your review, then click Submit.
If you are using an iPhone, iPad, or iPod touch
- Open the iTunes Store or App Store app.
- If you’re not signed in, sign in with your apple ID.
- Search for Homegrown Liberty then tap Reviews.
- Under iTunes Customer Reviews or App Store Customer Reviews, tap Write a Review.
- If prompted, enter your password.
- Select a star rating, enter a title, write your review, then tap Send.
So if you’re inclined to do so, that would be awesome and really help bump me up in the search results when people look for good podcasts.
Maybe I’ll be able to get Catie to join us one week and share her thoughts. She’s much more knowledgeable than me on these kinds of things. I’ve leaned heavily on her understanding to write this for you guys.
Thank you so much for joining me again, and I really do appreciate you reading this and giving me some of your time. I hope I bring some good value to your life with the information I share here every friday.
Until next week
I hope you have a wonderful day, God Bless. And as always “Go Do Good Things”
Hi Nick,
Can you tell us how to reach you on social media? I would have loved the q and a of salve making that you spoke of on social media.
Thank you very much for your podcasts.
Toni
https://www.facebook.com/groups/homegrownliberty/ Is the group we’ve set up for listeners to communicate and help each other find solutions to problems and encourage each other.
Nick where can we get the Korean chestnut trees?
Thanks
Zeek
https://oikostreecrops.com/products/nuts/dwarf-korean-chestnut/
http://www.morsenursery.com/index.php?cPath=13&pID=1301
White spots seem to have appeared in my salve. Let them cool on window sill then covered in a jelly jar. Have stored them in dark cupboard and just went to use a fresh one. Is it growing something or is it the fat/oils? (Almond, grapeseed, and olive oil base with beeswax and shea butter. Cooked in crockpot with lavender and rosemary.) Anybody Know?….
Most likely it is some of the oils that are less viscous than the others. When you make a salve, it’s not a homogeneous mix, so some of the oils often migrate to the surface. I think it’s unlikely to be mold or anything else like that.